


The product is sufficient for approximately 30 procedures.
For professional use ONLY.
Wear gloves during the procedure.
Product instructions:
1. Cleaning
Before starting the procedure, wipe off the makeup and make sure you cleaned the lashes really well. Remember to sterilize.
2. Protection of lower lashes
3. Choice of silicone pads
When choosing silicone pads, consult with the client about the desired end result and select the right pad.
Short lashes – S silicone
Medium and long lashes – S silicone for maximum effect or M silicone for milder effect
Very long lashes – M silicone for maximum effect or L silicone for milder effect
4. Gluing the silicone pad
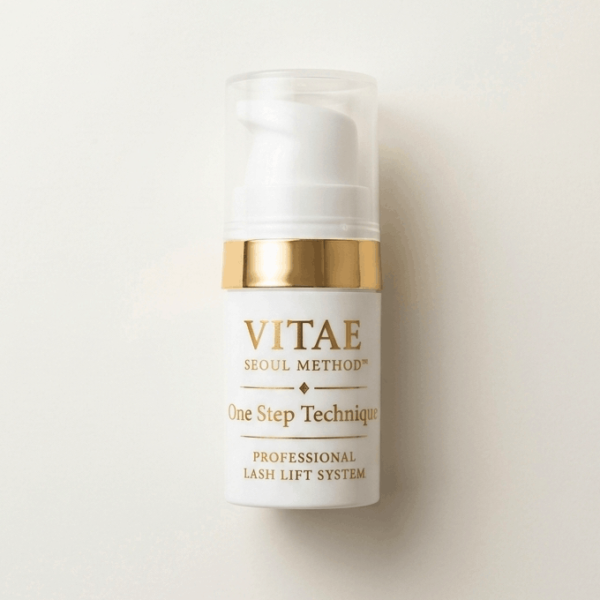
Using LASH VITAE, apply a silicone mold to the bottom of the eyelid as close to the lash line as possible.
5. Bonding the lashes on the silicone pad
Apply the glue on the silicone pad in parts (4-5mm). It is not recommended to apply all the glue on the silicone form at once, as the glue dries quickly and then the lashes do not stick. Glue the lashes on the silicone pad using the LASH VITAE special tool and applicator Y, combing the lashes up on the pad.
When you have finished gluing, wipe the tip of the container with a tissue to help keep the glue fresh.
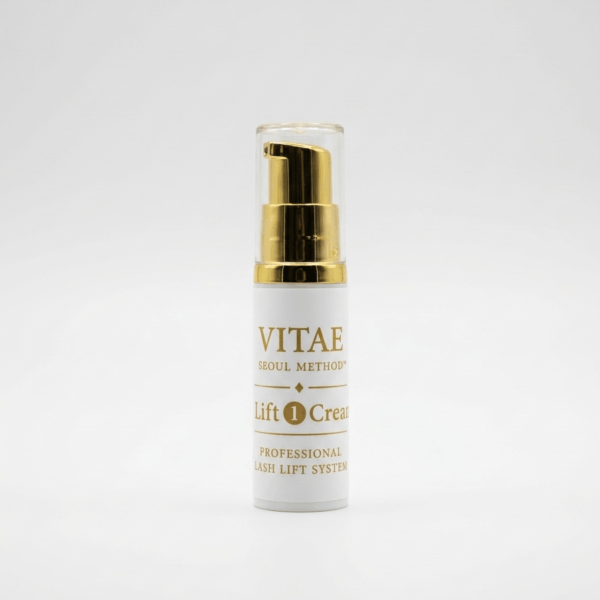
6. LASH VITAE No. 1 lubrication
Unpack a small (pea-sized) amount of LASH VITAE No 1 from the package and apply a thin layer on the lashes, 1-2 mm from the roots, starting from the outer corner of the eye and moving towards the inner.
Do not apply a cream to the ends of the lashes as you may damage the hair.
Follow the set time limits and use the timer.
Count the time separately for each eye.
LASH VITAE No. waiting time after applying the cream on the lashes:
Extremely strong (dense, straight, long) – 10-12 min
Very strong eyelashes – 8-10 min
Medium lashes – 7-9 min
Sensitive eyelashes – 4-7 min
7. LASH VITAE No. 1 cleaning
Make sure the product has been properly cleaned. And dry (with a dry brush)
8. Fixing with LASH VITAE No.2
Squeeze the small (pea-sized) amount LASH VITAE No. Apply 2 ”and apply a thin layer on the upper lashes, 1-2 mm from the roots, starting at the outer edge of the eye and moving towards the inner corner. Do not apply on the ends of the lashes. Hold the product on the lashes for 5-8 minutes.
Extremely strong (dense, straight, long) – 8 min
Very strong eyelashes – 7 min
Medium lashes – 6 min
Sensitive eyelashes – 5 min
Wipe DRY and then apply eyelash dye.
If you do not want to color your lashes at this stage, then you can skip this step.
9. Dye cleaning
Clean until the Lint-free applicator or earplug becomes clean.
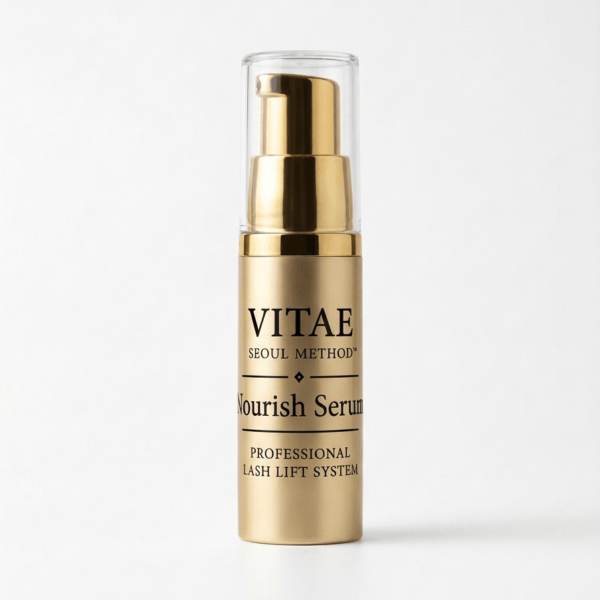
10. LASH VITAE No. 3 use
This product ensures increased density of the lashes up to 30%.
The unique formula allows the microparticles of the preparation to gently penetrate the hair fiber.
Lash Vitae No. 3 thickens and richly nourishes the hair root, acting on it for several months after the procedure, as well as promotes the proliferation (multiplication) of hair molecule components.
In addition to hydrolyzed keratin and panthenol, Lash Vitae No. 3 contains:
- Alcohol Denat., Cetyl Alcohol – various types of alcohols act as binders, helping to open scales.
- Argan Oil – Moisturizes and nourishes hair, giving it shine.
- Hyaluronic acid – retains moisture.
- Silicylic acid – has anti-inflammatory, antimicrobial properties.
- Hydrolyzed Collagen – Supports lash elasticity.
Squeeze the small (pea-sized) amount LASH VITAE No. Apply 3 and apply a thin layer on the upper lashes along the entire length of the lashes. Hold the product on the lashes for a few minutes. DO NOT NEED TO CLEAN. Gently comb the lashes in an upward motion.
This product has no set shelf life. Whether the lashes will come off easier or harder depends on how much glue was used at the beginning of the procedure. The more glue, the harder it will be to separate the lashes from the silicone.
To separate the lashes, it is important to massage the silicone pad in a circular motion. Only remove the pad when you are sure that all the lashes are loose. The silicone must be removed with great care. After removing the silicone, comb the lashes again. It is important not to comb the lashes straight, as you only need to comb them upwards and the lash brush is best for it.
If toner residue is visible on the skin or lashes, remove it with a Lint-free microbrush. After removing all dye and glue residue, re-apply a thin layer of LASH VITAE No. 3 and comb out the lashes.
Safety sheets:
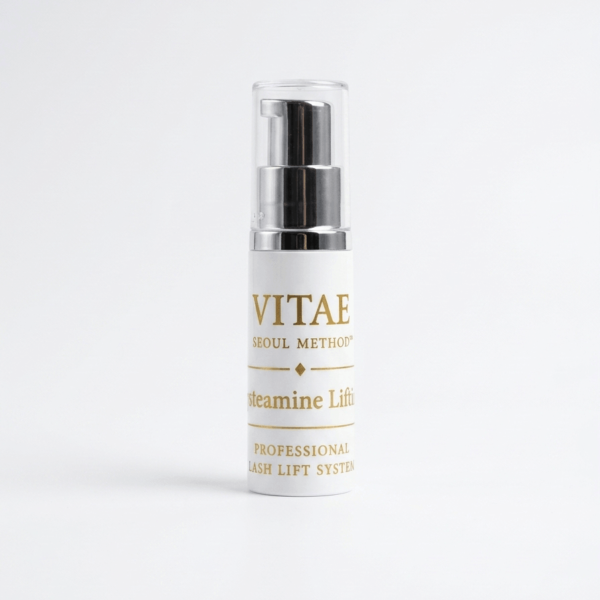
LASH VITAE Perming Lotion for lash lamination No 1
LASH VITAE Fixing Lotion for lash lamination No 2
LASH VITAE BT’X Booster for lash lamination No 3
_____________
Country of origin: Sweden
Responsible party: InBorn Beauty AB


Reviews
There are no reviews yet.